48k/128k ZX Spectrum for Raspberry Pico Pi RP2040
This project is intended to be relatively easy to breadboard or prototype in some other way. It's just for fun and not a highly accurate emulation; hopefully it is good enough to be enjoyable.
- DVI/HDMI (Wren's Amazing PicoDVI)
- LCD support (ST7789/ILI9341 320x240)
- VGA video (RGB332, RGB222, RGBY1111)
- USB keyboard & Joysticks
- PS/2 keyboard
- Martix keyboard
- HDMI/PWM/I2S DAC audio for 48k buzzer and AY-3-8912
- Audio input (load from tape)
- 12 quick save slots
- Load from .z80 snapshot files
- Read from .tap & .tzx tape files
- On screen menu system
- Kempston and Sinclair joystick emulation
- Kempston mouse emulation
28/12/24
- Added a build with CVBS 50Hz output - credit to svofski
27/12/24
- Additions for Murmulator 2 (only mono PWM audio for now)
- Vcore and Vsys displayed on menu
- PIO PWM mono audio for some builds
The move to PWM audio is primarily to support the RP2350, on which I have been having problems with the timer interrupts. There were also some stability issues on the RP2040 particularly with the 270Mhz overclock. Anyhow, I think the sound quality is much better using the PIO, probably because the delivery of samples is done in sync with the PWM frame. The down side is I am only doing mono for now; I have run out of PIO state-machines on the RP2040, but the RP2350 has an extra PIO block so I may have a go at stereo just for the RP2350.
23/11/24
- Better beeper sound quality (Mark II)
18/11/24
- Better beeper sound quality (Should improve most builds)
16/10/24
- Published a selection of RP2350 builds
- There are now two firmware folders uf2-rp2040 and uf2-rp2350-arm-s
If you have a board for which you would like a RP2350 build please raise an issue and I will try to add it.
29/09/24
- Removed dependency on modified TinyUSB library
- Unmodified pico-sdk can be now used
- New library for USB joystick/mouse/keyboard. See https://github.com/fruit-bat/pico-hid-host
18/09/24
- Added support for NES/SNES joypads on MURMULATOR firmware
- New library to support reading NES/SNES joypads. See https://github.com/fruit-bat/pico-nespad
Click on the images below for more information ...

|


|
| Board | Notes |
|---|---|
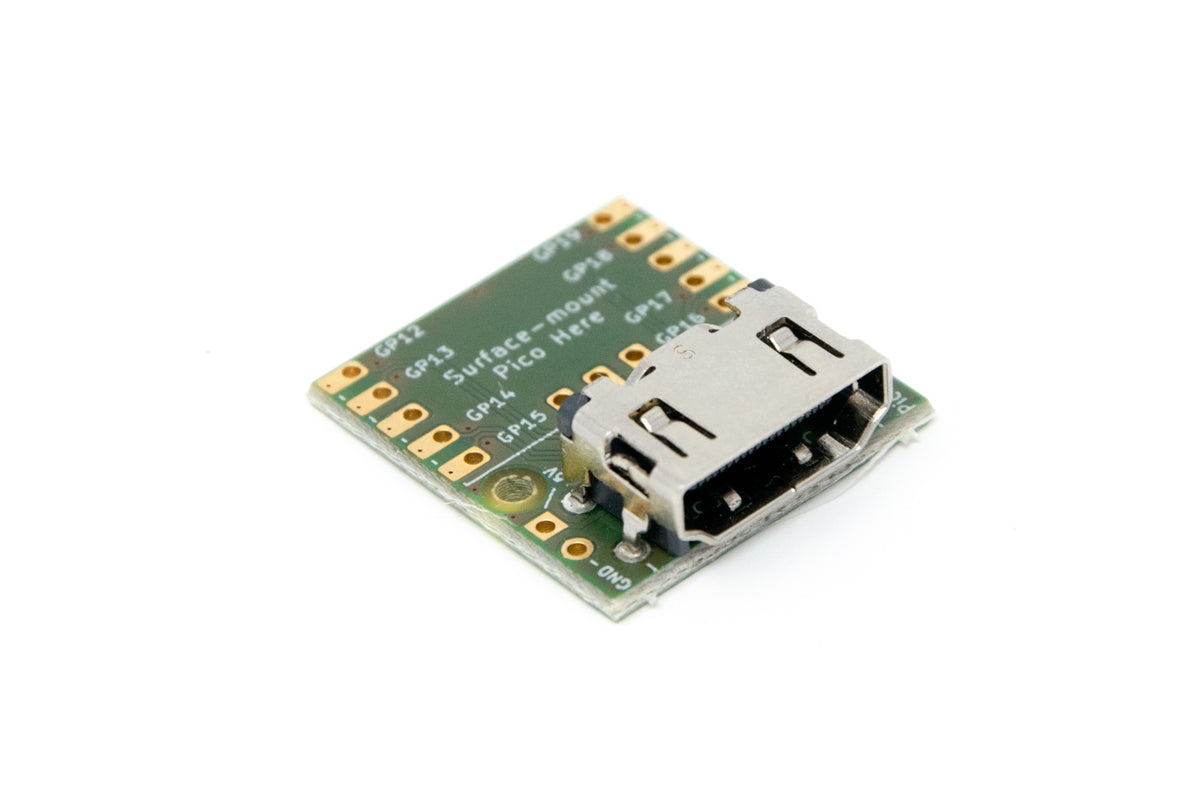
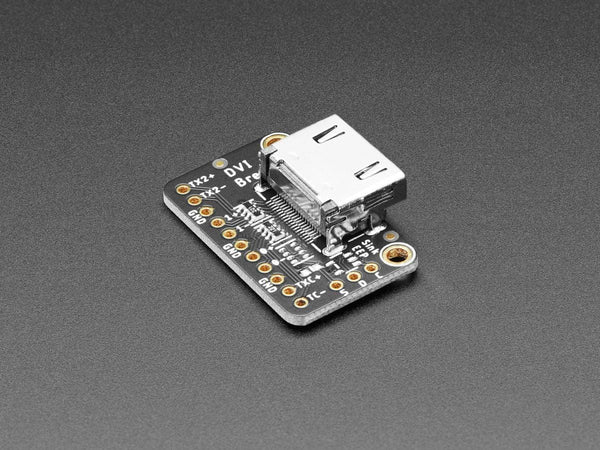
| HDMI breadboard | Some breadboard HDMI options |
| VGA breadboard | Some breadboard VGA options |
| PICO ZX48/128 | ZX Spectrum 48K replacement board by Bobricius |
| PICOZX LCD | ZX Spectrum with LCD and VGA by Bobricius |
| PICOZX | ZX Spectrum with VGA by Bobricius |
| RetroVGA | VGA micro-computer by Bobricius |
| PicomputerMax | LCD micro-computer by Bobricius |
| PicomputerZX | ZX Spectrum with LCD by Bobricius |
| Pimoroni Pico DV | Pimoroni's Pico DV board |
| Pimoroni Pico VGA | Pimoroni's Pico VGA board |
| HDMI + key matrix | Breadboard with key matrix support |
| ArnoldUK | Arnold UK's board |
| MURMULATOR | Micro with VGA/HDMI and more |
| MURMULATOR2 | Micro with VGA/HDMI and more |
| RP2040-PiZero | Waveshare RP2040-PiZero Development Board |
| CVBS 50Hz | Unknown/breadboard with 50Hz CVBS output |
Pre-built binary targets can be copied directly to a Pico Pi. They can be downloaded from the links on the page for the board below or found in the uf2 folder.
Before attempting to update the firmware on your Pico make sure power supplies and any USB host devices have been disconnected (hub, keyboard, joysticks, etc.).
Push and hold the BOOTSEL button and plug your Pico into the USB port of your computer. Release the BOOTSEL button after your Pico is connected. It will mount as a Mass Storage Device called RPI-RP2. Drag and drop the UF2 file onto the RPI-RP2 volume.
On hardware with a faceplate the button is usually accessible through a small hole; the PICOZX Lcd board has the Pico facing inwards and you will need to reach a finger inside to press the bootsel button.
e.g. for the HDMI breadboard wiring show above use:
cp ZxSpectrumBreadboardHdmi4PinAudio.uf2 /media/pi/RPI-RP2/There are three techniques for audio output.
- A mixture of digital sound and PWM output, which comes in three variants.
- A DAC connected to the Pico using I2S.
- Audio over HDMI to the display.
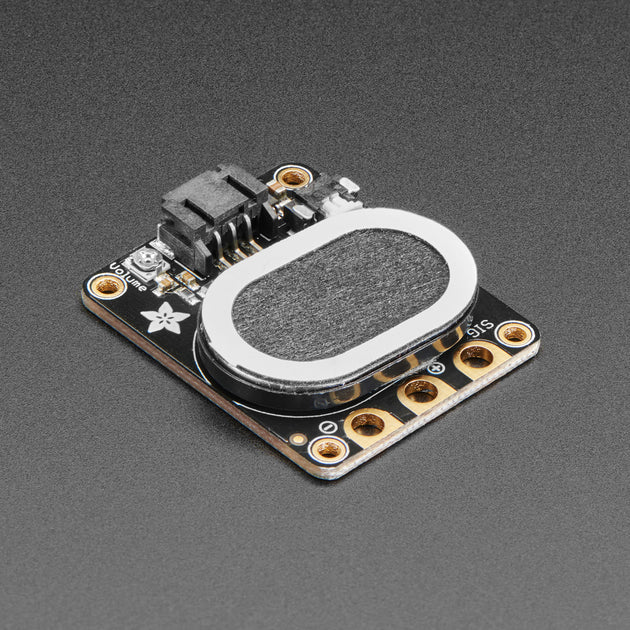
PWM audio output comes in 3 variants, using 1, 2 and 4 pin:
| Label | 1 Pin | 2 Pin | 4 Pin |
|---|---|---|---|
| RP AUDIO1 | Buzzer & AY-3-8912 PWM | AY-3-8912 PWM | AY-3-8912 Channel A PWM |
| RP AUDIO2 | - | Buzzer | Buzzer |
| RP AUDIO3 | - | - | AY-3-8912 Channel B PWM |
| RP AUDIO4 | - | - | AY-3-8912 Channel C PWM |
High frequencies need to be filtered out of the PWM audio output and mixed with the Spectrum's digital audio. Here are some sample designs. Please note they are not carefully designed but made from components I found lying around. If you create a particularly nice sounding design please let me know and I will add it to the documentation.
Separating out the Spectrum buzzer from the AY-3-8912 improves the fidelity of the Spectrum beeps.
The best audio is achieved by having separate pins for the Spectrum buzzer and AY-3-8912 A,B & C channels.
The sound is actually quite good from the 4 pin filter and at some point I will do a stero version.
Designs that only have a single GPIO pin available can have the audio mixed digitally:
The emulation can drive a PCM5100A DAC for line out audio over I2S. It uses the RP_DAC_DATA, RP_DAC_BCLK and RP_DAC_LRCLK pin on the Pico. Currently, only tested on the Pimoroni Pico DV board.
HDMI builds can now output 44.1kHz audio to the display.
The following circuit shows roughly how to connect an HDMI socket; I have always used a breakout board...


...but this is what I think it boils down to:
So far, there are three supported VGA configurations, which can be found in the various build targets. They have all been designed with a combination of plagiarism and guesswork, so please let me know if you have better versions and I will update this document.
Although this is the most complicated, it is my favourite as it only uses 5 pins on the Pico. The display is slightly paler than the other two versions, which is easier on the eyes.
See this CMakeLists.txt for an example configuration.
See this CMakeLists.txt for an example configuration.
See this CMakeLists.txt for an example configuration.
The emulator targets can accept input from a PS/2 keyboard wired to RP_PS2_DATA and RP_PS2_CLK. A suggested circuit is shown below:
The resistors and Zeners are there in case the keyboard contains a pull-up resistor to 5v on either the data or clock lines; the data and clock lines are, in theory, open-collector with no pull-up.
I'm told most PS/2 keyboards can be run at 3.3v and the the extra components become redundant... but I've not tried with mine. You may find the Pico struggles to deliver enough power at 3.3v for the SD card writes and running a keyboard.
Currently there is no toggling on the lock keys (caps/num lock) and the indicator leds are not used.
Due to a great deal of help from badrianiulian, here is a suggested audio input circuit:
Suggestions to improve this circuit are appreciated and please post them here.


Firstly, the emulation does not have a screen buffer, and there is not enough RAM left to add one. Whichever dsiplay you use, it will not have exactly the same timing as the old PAL monitors. This is particularly noticable on 60Hz displays with programs on the Spectrum that try to synchronize their output with the display, or use the frame rate to control the speed of music. I'm gradually adding 50Hz modes to firmware for various boards.
There is basic support for connecting USB joysticks and have them appear as Kempston or Sinclair joysticks to the Spectrum.
For joysticks to work they have to provide a HID report, which is usually the case for generic PC joypads. Some manufacturers make joysticks that don't report their behaviour and hence require custom drivers; these are not going to work.
Basically, I don't know how many different joysticks will be usable. If you are having trouble raise an issue and attach a HID report descriptor from your device and I will have a look at it.
To get this to work I have created a library which works alongside TinyUSB
https://github.com/fruit-bat/pico-hid-host
Make a folder in which to clone the required projects e.g.
mkdir ~/pico
cd ~/pico
Clone the projects from github:
Using git protocol:
git clone [email protected]:fruit-bat/pico-hid-host
git clone [email protected]:fruit-bat/pico-nespad.git
git clone [email protected]:fruit-bat/pico-extras.git
git clone [email protected]:fruit-bat/PicoDVI.git
git clone [email protected]:fruit-bat/pico-zxspectrum.git
git clone [email protected]:pimoroni/pimoroni-pico.git
git clone [email protected]:fruit-bat/pico-dvi-menu
git clone [email protected]:fruit-bat/pico-emu-utils
git clone [email protected]:redcode/Z80.git
git clone [email protected]:redcode/Zeta.git
...or using https protocol:
git clone https://github.com/fruit-bat/pico-hid-host
git clone https://github.com/fruit-bat/pico-nespad.git
git clone https://github.com/fruit-bat/pico-extras.git
git clone https://github.com/fruit-bat/PicoDVI.git
git clone https://github.com/fruit-bat/pico-zxspectrum.git
git clone https://github.com/pimoroni/pimoroni-pico.git
git clone https://github.com/fruit-bat/pico-dvi-menu
git clone https://github.com/fruit-bat/pico-emu-utils
git clone https://github.com/redcode/Z80.git
git clone https://github.com/redcode/Zeta.git
Edit:
pimoroni-pico/drivers/fatfs/ffconf.hand set FF_USE_FIND to 1
#define FF_USE_FIND 1
Switch to the audio branch of PicoDVI
cd PicoDVI
git checkout audio
cd -
Perform the build:
mkdir build
cd build

# $1 board
# $2 platform
build_group() {
  mkdir -p "$1_$2"
  pushd "$1_$2"
  cmake -DPICO_COPY_TO_RAM=0 -DPICO_PLATFORM=$2 -DPICO_BOARD=$1 ../..
  make -j4 relevant
  find . -name '*.uf2' -exec cp '{}' "../../uf2-$2" \;
  popd
}

# Pimoroni Pico VGA Demo Base with a Pico RP2040
build_group vgaboard rp2040
# Pimoroni Pico VGA Demo Base with a Pico2 RP2350 (Untested)
build_group vgaboard rp2350-arm-s
# Adafruit feather with built in RP2040
build_group adafruit_feather_rp2040 rp2040
# Various Pi Pico RP2040 boards
build_group pico rp2040
# Various Pi Pico2 RP2350 boards
build_group pico2 rp2350-arm-s
Copy the relevant version to your board, which can be located with:
find . -name '*.uf2'e.g.
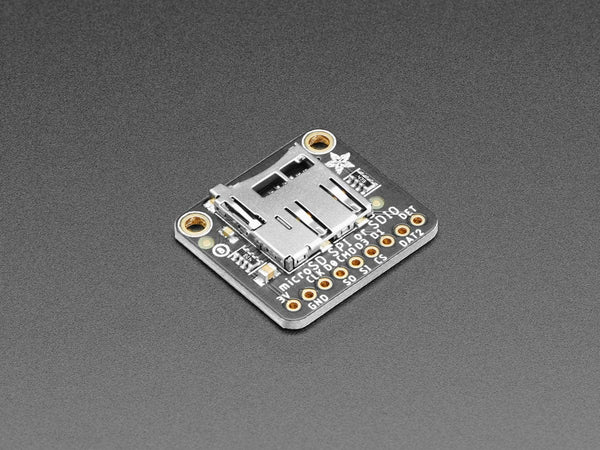
cp ./bin/breadboard_hdmi/ZxSpectrumBreadboardHdmi.uf2 /media/pi/RPI-RP2/I have used the following SD card formats:
| 2 GB FAT16 |
| 2 GB FAT32 |
| 4 GB W95 FAT32 (LBA) |
The table shows the folders used by the emulator on the SD card. If not already present, they will be created as the emulator starts up.
| Folder | Contents |
|---|---|
| zxspectrum/snapshots | Put your .z80 snapshot files in here. |
| zxspectrum/snapshots/quicksaves | Folder for quick saves. |
| zxspectrum/tapes | Folder for .tap and .tzx tape files. |
| Key | Action |
|---|---|
| AltGr | Symbol |
| F1 | Toggle on screen menu |
| F3 | Toggle mute |
| F4 | Toggle the Z80 moderator. Cycles through 3.5Mhz, 4.0Mhz and unmoderated |
| F8 | Reload current snap |
| F9 | previous snap |
| F10 | next snap |
| F11 | Reset as 48k Spectrum |
| F12 | Reset as 128k Spectrum |
| LCtrl + F1-F12 | Quick save (LCtrl+F1 = save slot 1, LCtrl+F2 = save slot 2, etc) |
| LAlt + F1-F12 | Quick load (LAlt+F1 = load slot 1, LAlt+F2 = load slot 2, etc) |

| Pico pin | Pico GPIO | Adapter wire |
|---|---|---|
| 1 | GP0 | White |
| 2 | GP1 | Green |
| 3 | GND | Black |
tio -m ODELBS /dev/ttyUSB0CarlK for the super no OS FAT FS for Pico
Damien G for maintaining and publishing some wonderful 8-bit fonts
Wren for the amazing PicoDVI
hathach for the embeded USB library TinyUSB
Lin Ke-Fong for the Z80 emulator
Pimoroni for lots of useful libraries
badrianiulian for help testing and design work on the audio circuitry
redcode for the Z80 emulator
Javavi for adding support for the MURMULATOR platform
ikjordan for his audio additions to PicoDVI
Z80 Test suite
Wren's Amazing PicoDVI
Z80 file format documentation
Fonts by DamienG
breakintoprogram - Screen memory layout
breakintoprogram - keyboard layout
breakintoprogram - interrupts
worldofspectrum - 48k ZX Spectrum reference
worldofspectrum - 128k ZX Spectrum reference
worldofspectrum - AY-3-8912 reference
JGH Spectrum ROM
48k ZX Spectrum service manual
GOSH ZX Spectrum ROM
Cassette input circuit design
ZX Spectrum ROM Images
AY-3-8912 - manual
AY-3-8912 - synth
USB HID 1.1
ST7789 LCD driver reference
RGB for 128k ZX Spectrum
PS/2 vs HID keyboard codes
PCM 5100A DAC
RP2040 Datasheet
Z80 Instruction set with XYH
Z80 Instruction set
Site with some WAV files
ZX Modules Software
TZX format
A decoder for ZX format
Circuit diagram editor


