You can apply your product key at any time within the product UI or during an install or upgrade process. More details on both options are provided below.
Note:
kubecostTokenis a different concept from your product key and is used for managing trial access.
Many Kubecost product configuration options can be specified at install-time, including your product key.
To create a secret you will need to create a JSON file called productkey.json with the following format. Be sure to replace <YOUR_PRODUCT_KEY> with your Kubecost product key.
{
    "key": "<YOUR_PRODUCT_KEY>"
}
Run the following command to create the secret. Replace <SECRET_NAME> with a name for the secret (example: productkeysecret):
$ kubectl create secret generic <SECRET_NAME> -n kubecost --from-file=./productkey.jsonUpdate your values.yaml to enable the product key and specify the secret name:
kubecostProductConfigs.productKey.enabled = truekubecostProductConfigs.productKey.secretname = <SECRET_NAME>
Run a helm upgrade to start using your product key.
This specific parameter can be configured under kubecostProductConfigs.productKey.key in your values.yaml.
Note: you must also set the
kubecostProductConfigs.productKey.enabledconfig totruewhen using this option.
Note: that this will leave your secrets unencrypted in values.yaml. Use a Kubernetes secret as in the previous method to avoid this.
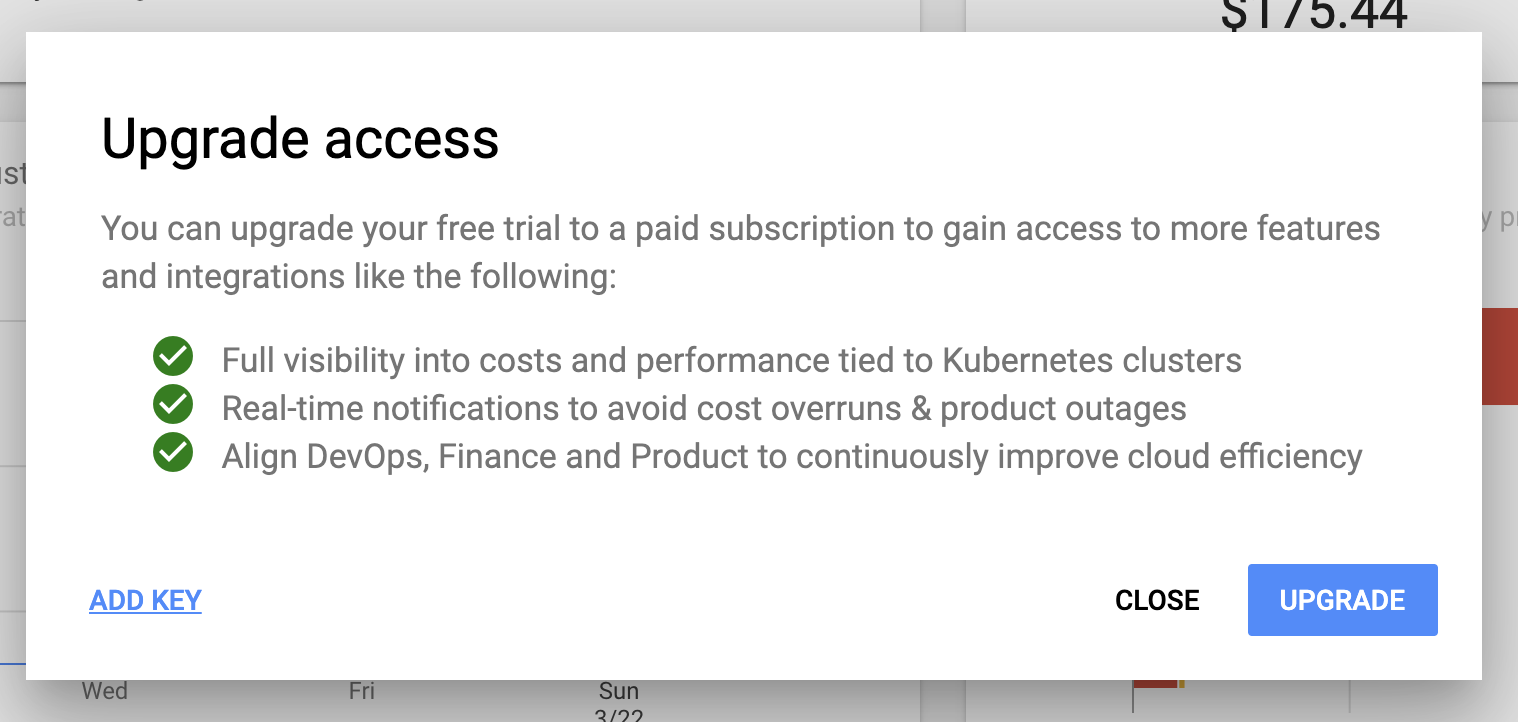
To apply your license key within the Kubecost UI, visit the Overview page and then select UPGRADE in the page header.
Next, select ADD KEY in the dialog menu shown below.
You can then supply your Kubecost provided license key in the input box that is now visible.
To verify that your key is properly supplied, visit the Settings UI to confirm the final digits are as expected:
Please reach out to [email protected] with any questions.
Edit this doc on GitHub

