Raycast extension to create, search and modify issues, manage merge requests, projects and more.


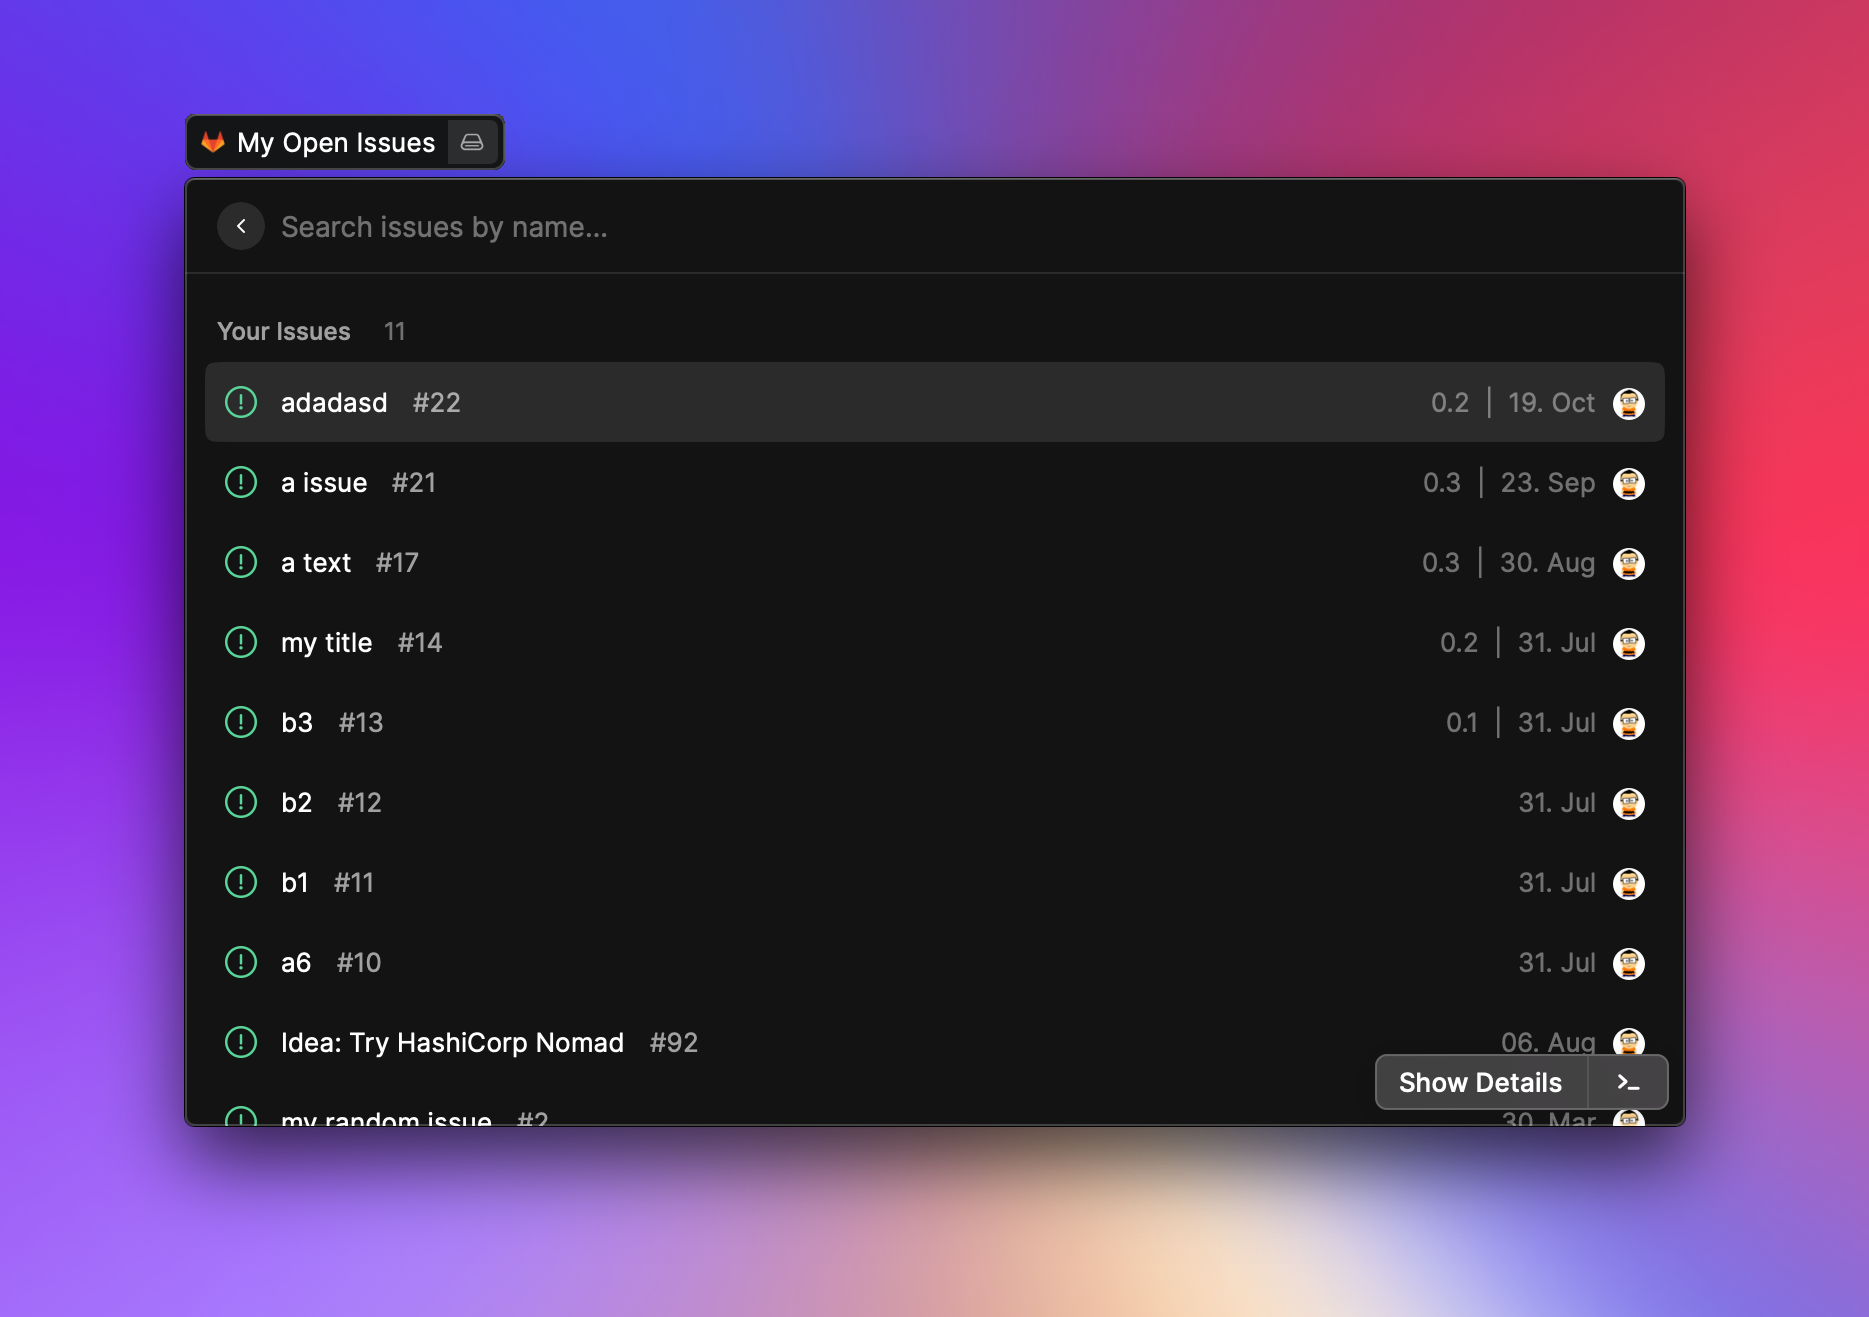
- Manage your issue
- Manage your assigned issues
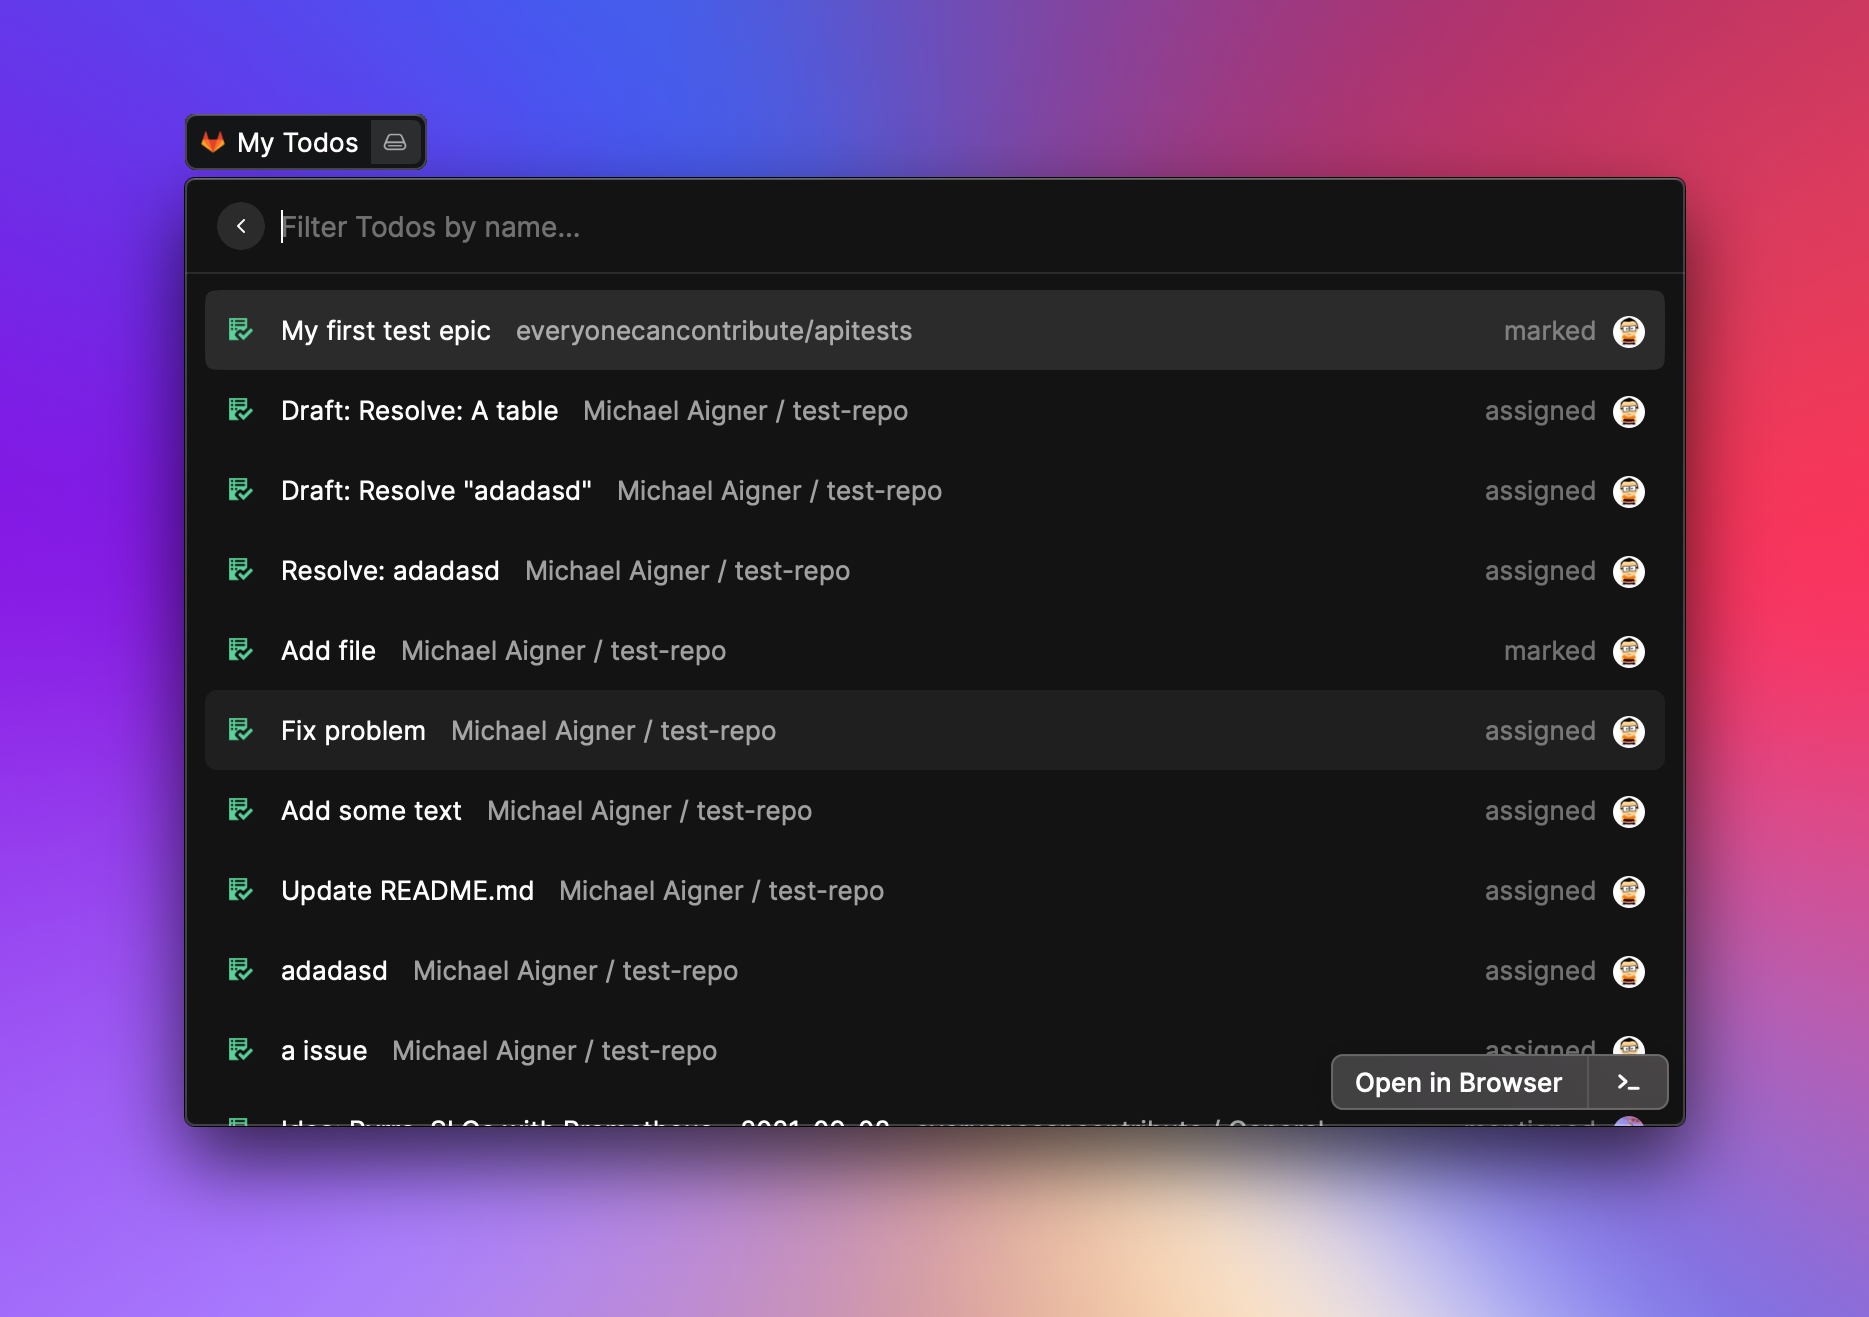
- Manage your GitLab todos
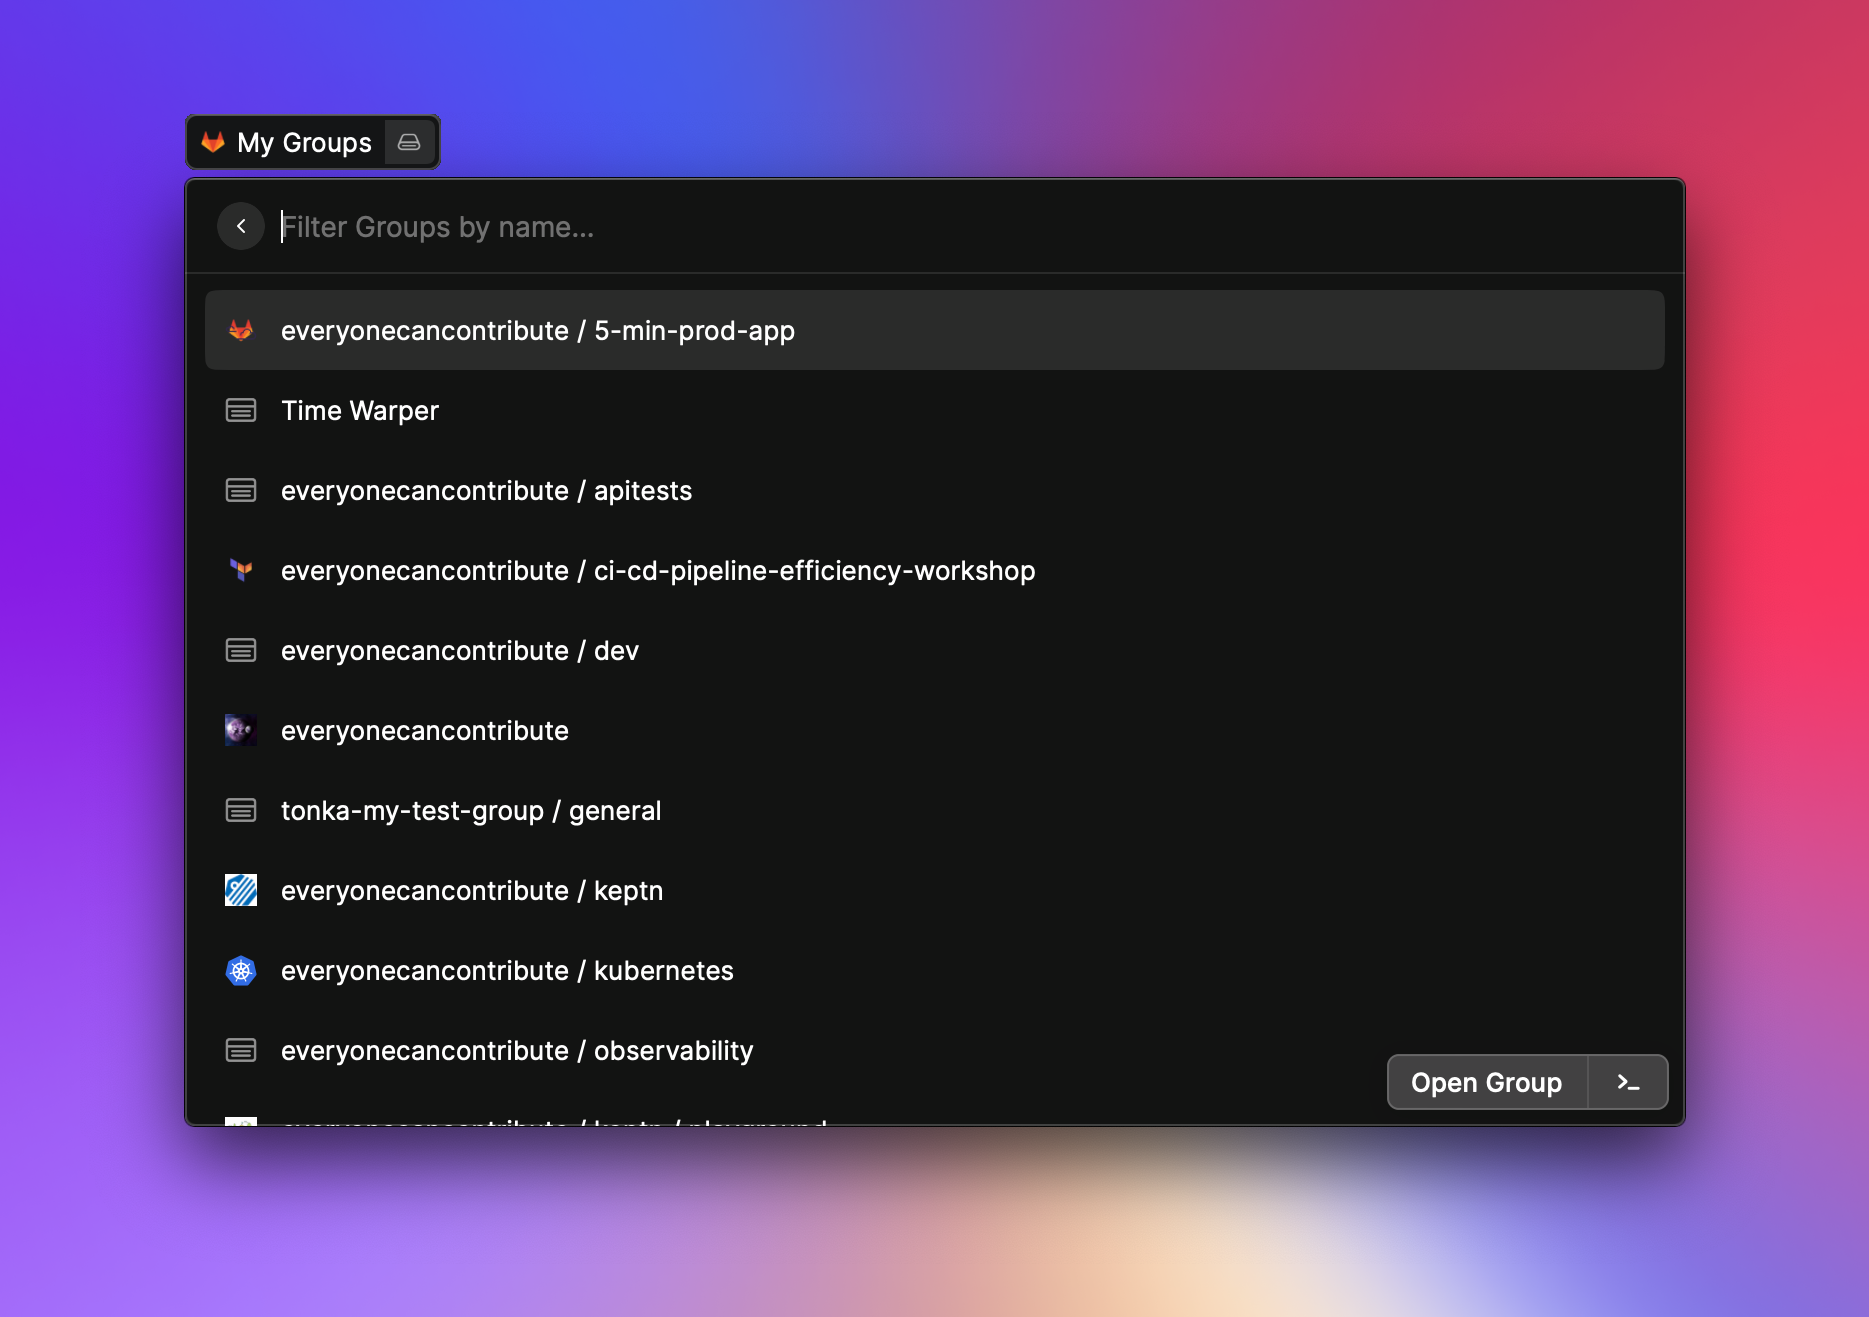
- Manage your projects
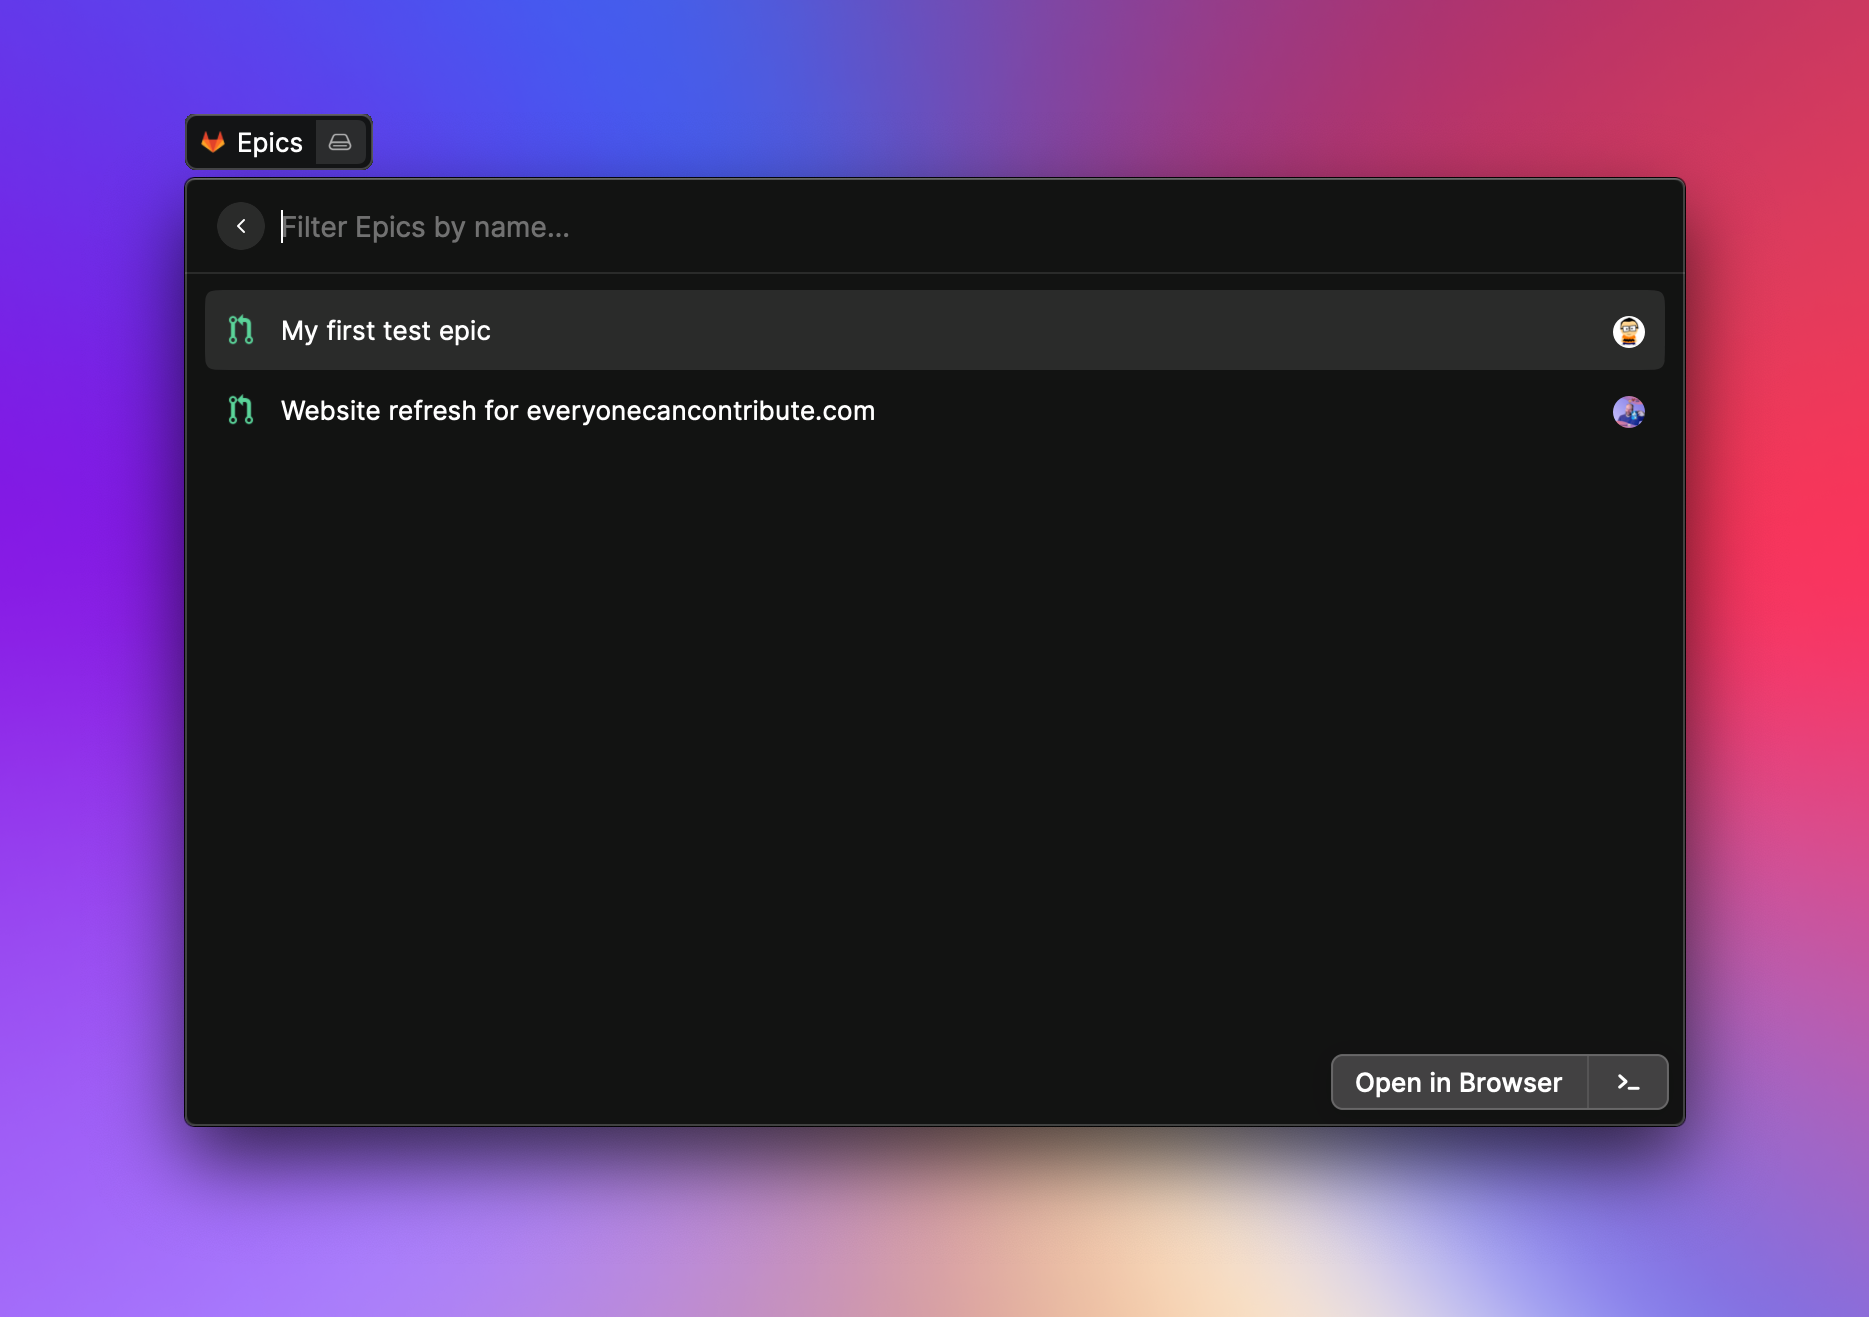
- Manage your epics
- Manage your merge requests
- Manage your reviews
- Search other users
and many more
-
Goto to your GitLab instance e.g. https://gitlab.com
-
Click on your avatar image in the right upper corner
-
Click on
Edit profile -
Click on
Access Tokenson the left sidebar -
Give your token a name e.g.
raycastand set an expiration date (highly recommended) -
Select your scope of choice
You need at least
read_api. When you want to make write operation via raycast, you should useapi -
Store the given access token in a secret box because GitLab want show you the key again
-
Go to the preferences in Raycast (or start any command of GitLab extension)
-
Set your GitLab instance url
For gitlab.com this would be
https://gitlab.com. Your own instance could behttps://mygitlab.org. -
Set the token from the previous step into the
API Tokenfield
Now you should be able to manage your GitLab instance with Raycast 🚀.
For all read only commands the read_api scope is enough. If you want to create/modify e.g. an issue you need
the api scope.
If you use a self hosted instance make sure that you set your custom CA certificate in the preferences. This can be a tricky process and you need to make sure that you use the right certificate otherwise you get an error. The extension use your certificate and pass it directly to nodejs network stack. If you have troubles checkout various nodejs guides around the internet or checkout the official nodejs documentation.
You can disable certificate errors, but this is not recommended for security reasons