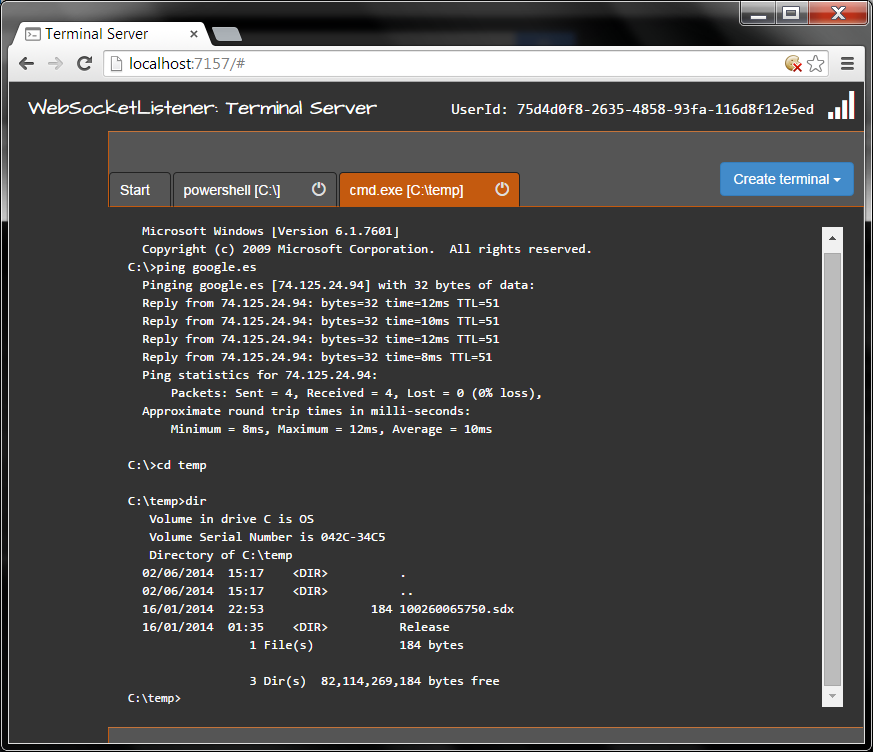
AngularJS Terminal Emulator.
LIVE DEMO : http://vtortola.github.io/ng-terminal-emulator/
ng-terminal-emulator is a directive that emulates a command terminal in Javascript.
<div ng-controller="console">
    <terminal> </terminal>
</div>
The directive can transclude, so whatever content you put inside, will be shown as part of the component:
<div ng-controller="console">
    <terminal>
        <p class="click-me">Click me to start commanding !</p>
    </terminal>
</div>
In order to input and output text, you must communicate using .$broadcast()and .$emit() from the wrapper controller.
$scope.$broadcast('terminal-output', {
    output: true,
    text: ['Welcome to vtortola.GitHub.io',
           'This is an example of ng-terminal-emulator.',
           '',
           "Please type 'help' to open a list of commands"],
    breakLine: true
});
$scope.$on('terminal-input', function (e, consoleInput) {
        var cmd = consoleInput[0];

        // do stuff
});
In order to customize the terminal look and feel, it is possible to configure the CSS class that the terminal element will have using the terminal-class attribute:
<terminal terminal-class="vintage-terminal">

</terminal>
In order to customize the terminal behaviour, it is possible to configure some behaviours in the terminal like:
- Delay in ms between output chars.
- Disable input while output is being print.
- Set a sound that plays when the output is printing.
- Set a sound that plays at the start.
.config(['terminalConfigurationProvider', function (terminalConfigurationProvider) {
    terminalConfigurationProvider.outputDelay = 10;
    terminalConfigurationProvider.allowTypingWriteDisplaying = false;
    terminalConfigurationProvider.typeSoundUrl ='example/content/type.wav';
    terminalConfigurationProvider.startSoundUrl ='example/content/start.wav';
}])
It is possible to use named configurations:
.config(['terminalConfigurationProvider', function (terminalConfigurationProvider) {
    terminalConfigurationProvider.config('vintage').outputDelay = 10;
    terminalConfigurationProvider.config('vintage').allowTypingWriteDisplaying = false;
    terminalConfigurationProvider.config('vintage').typeSoundUrl ='example/content/type.wav';
    terminalConfigurationProvider.config('vintage').startSoundUrl ='example/content/start.wav';
}])
And apply that configuration using the terminal-config attribute in the directive:
<terminal terminal-config="vintage">

</terminal>
You can find a live exampe at: http://vtortola.github.io/ng-terminal-emulator/
You may also want to take a look at the Terminal Server application done with WebSocketListener.

