-
Notifications
You must be signed in to change notification settings - Fork 12
PICkit2
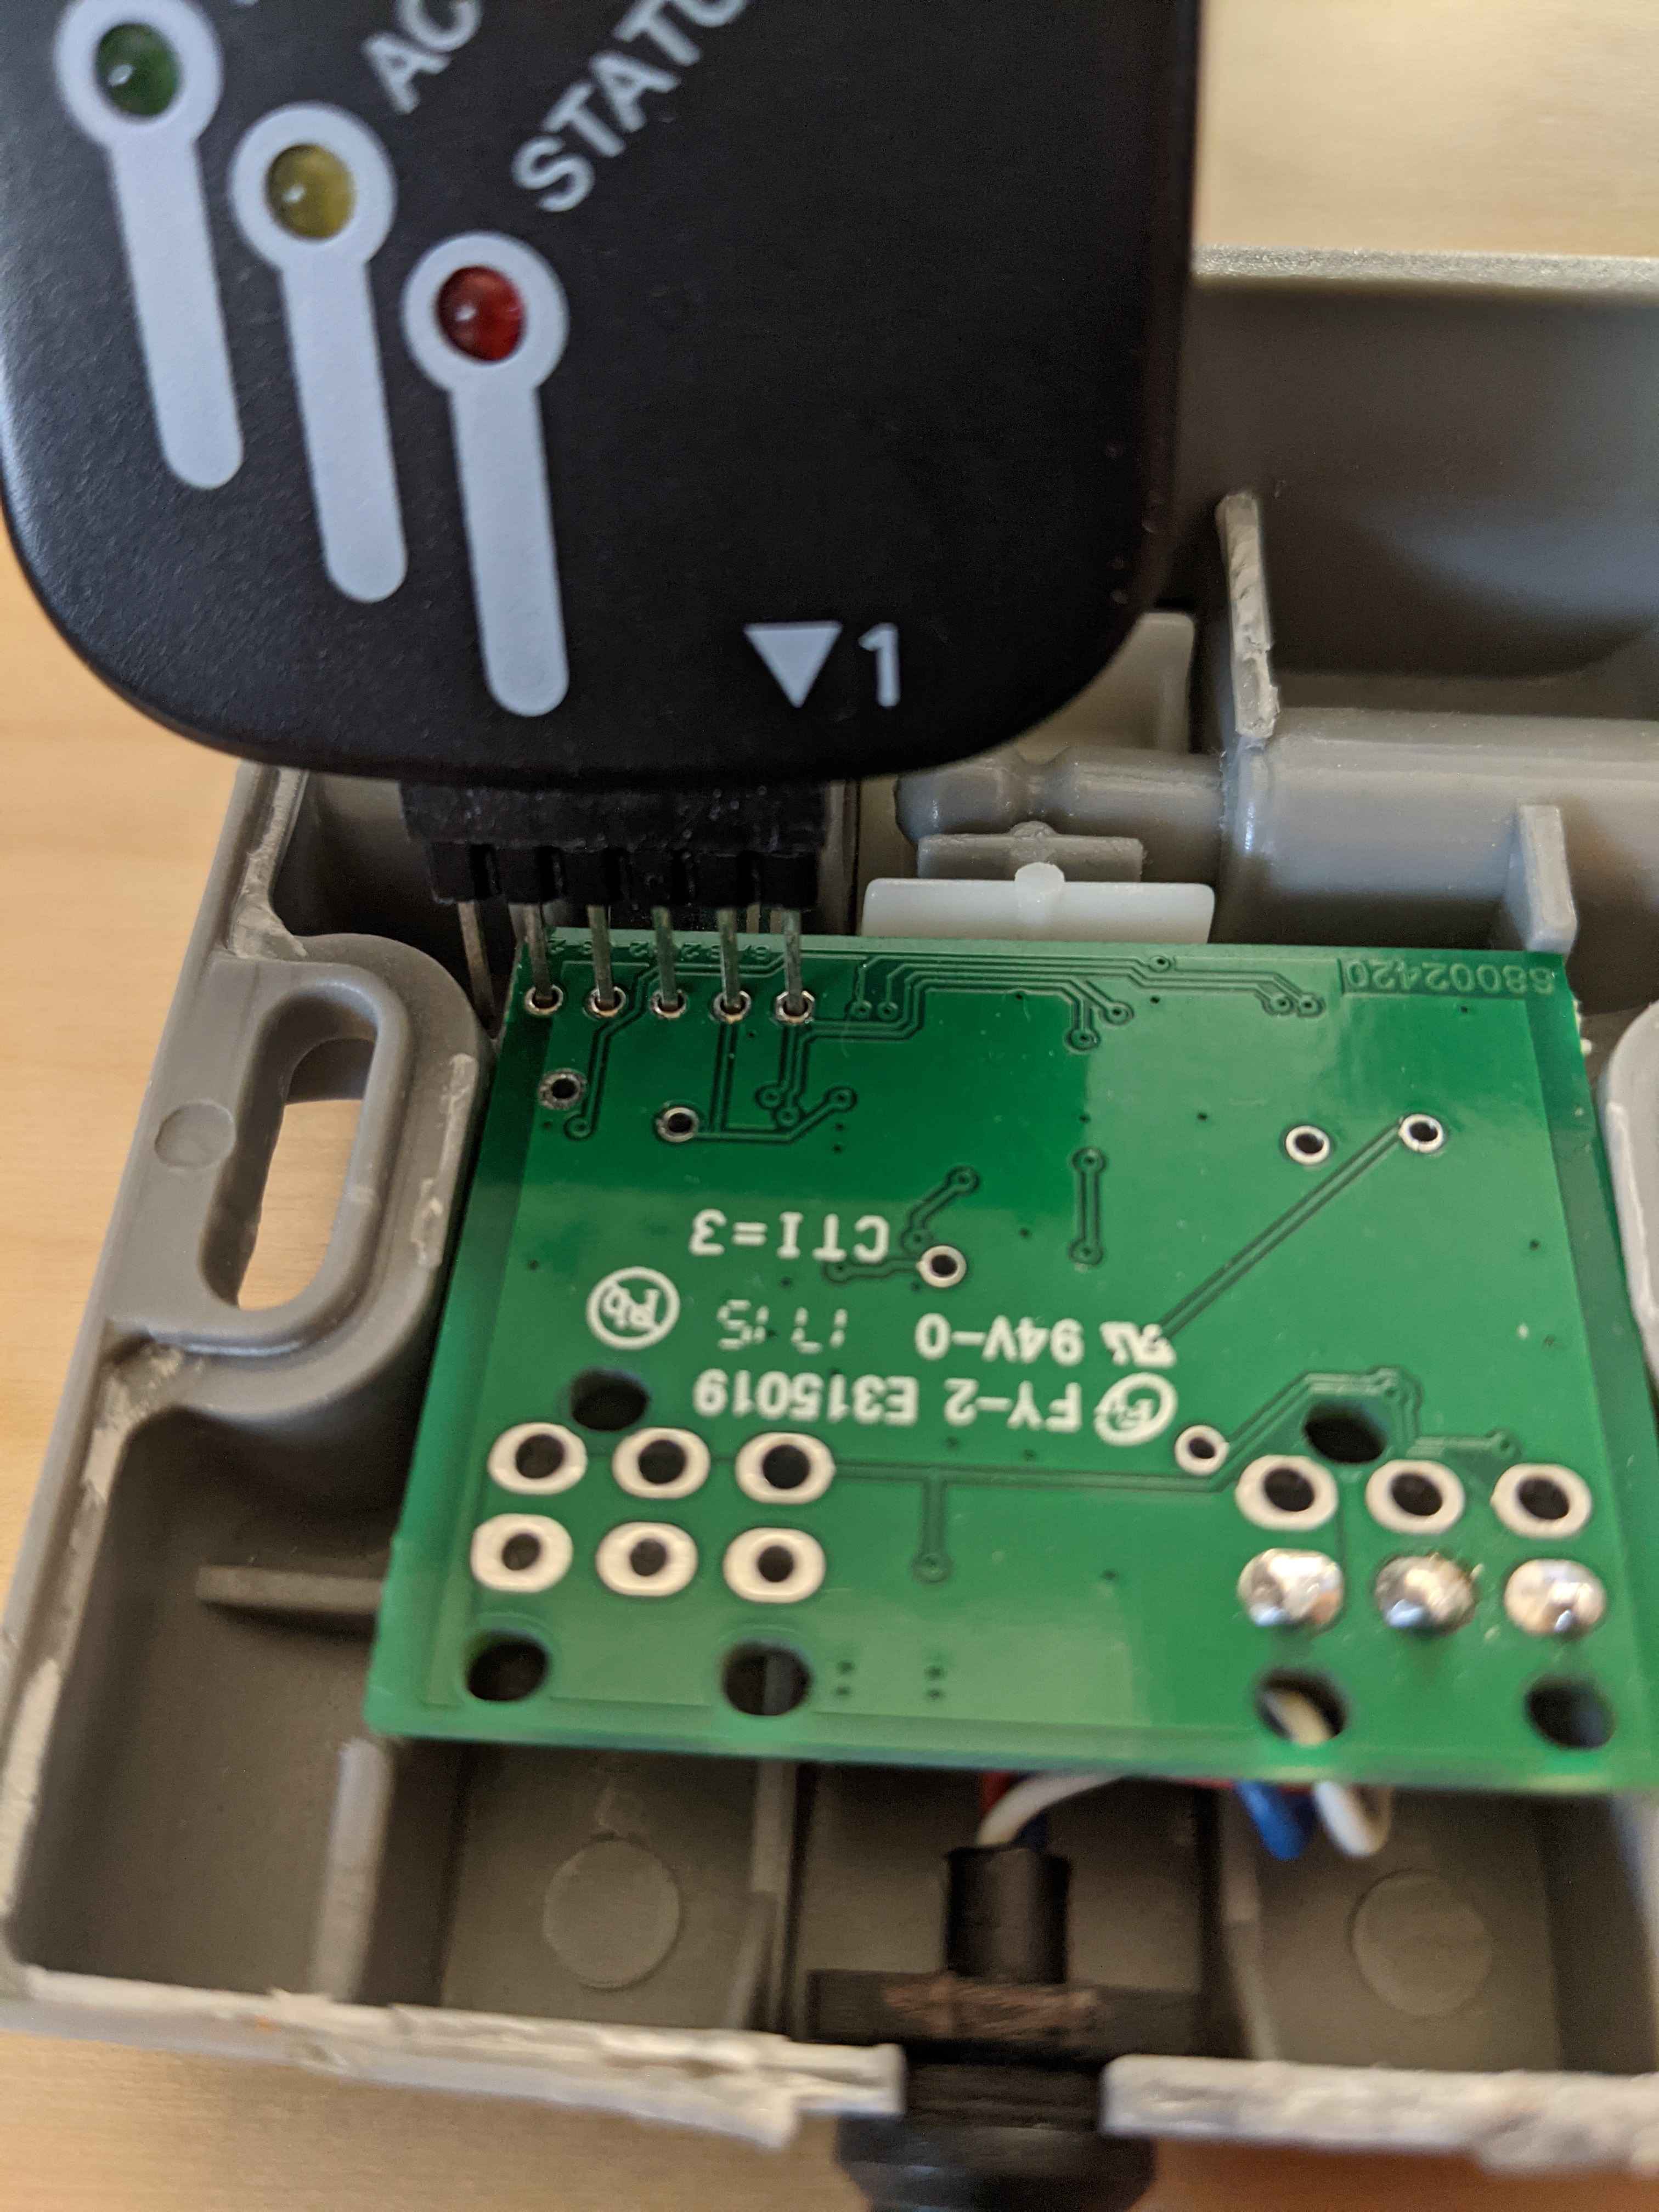
5 wires/pins must be connected between the board and the programmer.
Spacing of these holes is standard pitch that matches the PICkit pins. I was able to connect without any soldering by plugging a long pin header into the programmer and leaning it inside the holes enough to make contact.

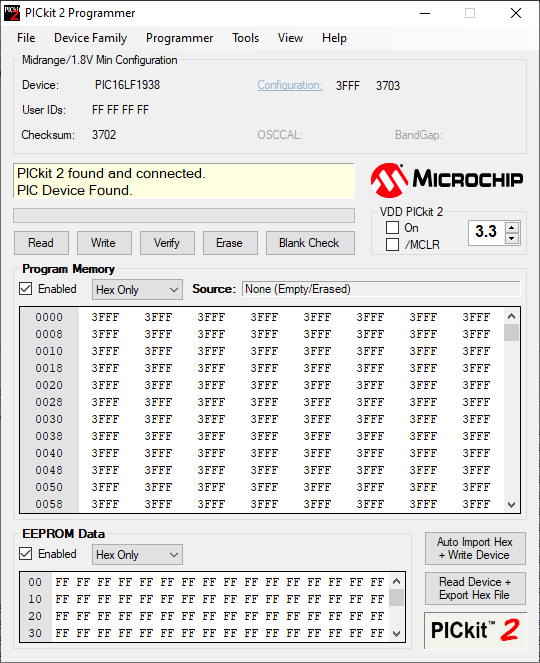
PICkit software reads the microcontroller device ID when it is connected. It should report that it detected the PIC16LF1938. If not, adjust the connection and rescan by selecting menu Tools → Check Communication.

$ pk2cmd -P -I
Auto-Detect: Found part PIC16LF1938.

Device ID = 24A0
Revision  = 0003
Device Name = PIC16LF1938

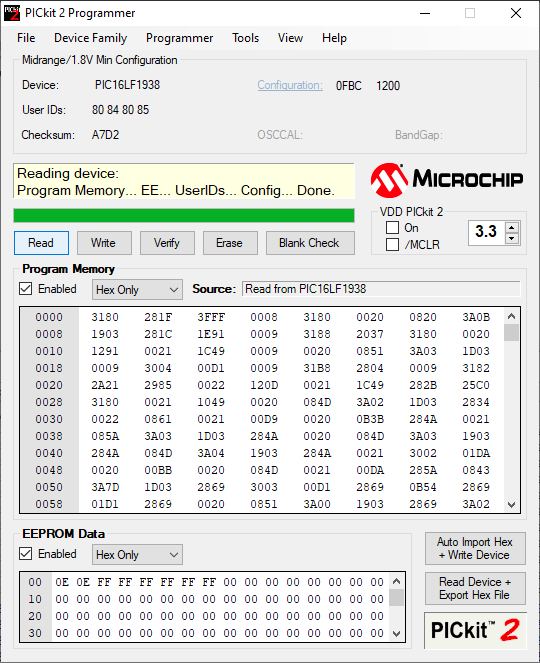
Operation SucceededEnable both Program Memory and EEPROM Data, and click the Read button. This will dump the current contents of the microcontroller which you can save to a file. Select menu File → Export Hex.

You can write your saved OEM dump back to the device to "factory reset" the firmware.
$ pk2cmd -PPIC16LF1938 -GF oem_backup.hex
Read successfully.

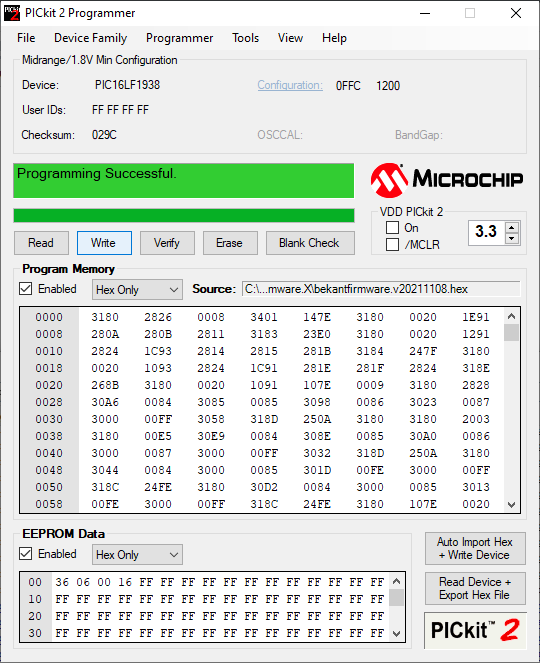
Operation SucceededSelect menu File → Import Hex, and open the .hex file you downloaded from the releases page.

Enable both Program Memory and EEPROM Data, and click the Write button. Afterward, you can also click Verify to check that the write was successful.
$ pk2cmd -PPIC16LF1938 -F bekantfirmware.v20210530.hex -M
PICkit 2 Program Report
30-7-2021, 16:55:57
Device Type: PIC16LF1938

Program Succeeded.

Operation Succeeded

$ pk2cmd -PPIC16LF1938 -F bekantfirmware.v20210530.hex -Y
PICkit 2 Verify Report
30-7-2021, 16:56:28
Device Type: PIC16LF1938

Verify Succeeded.

Operation SucceededProceed to test and adjust the new firmware.