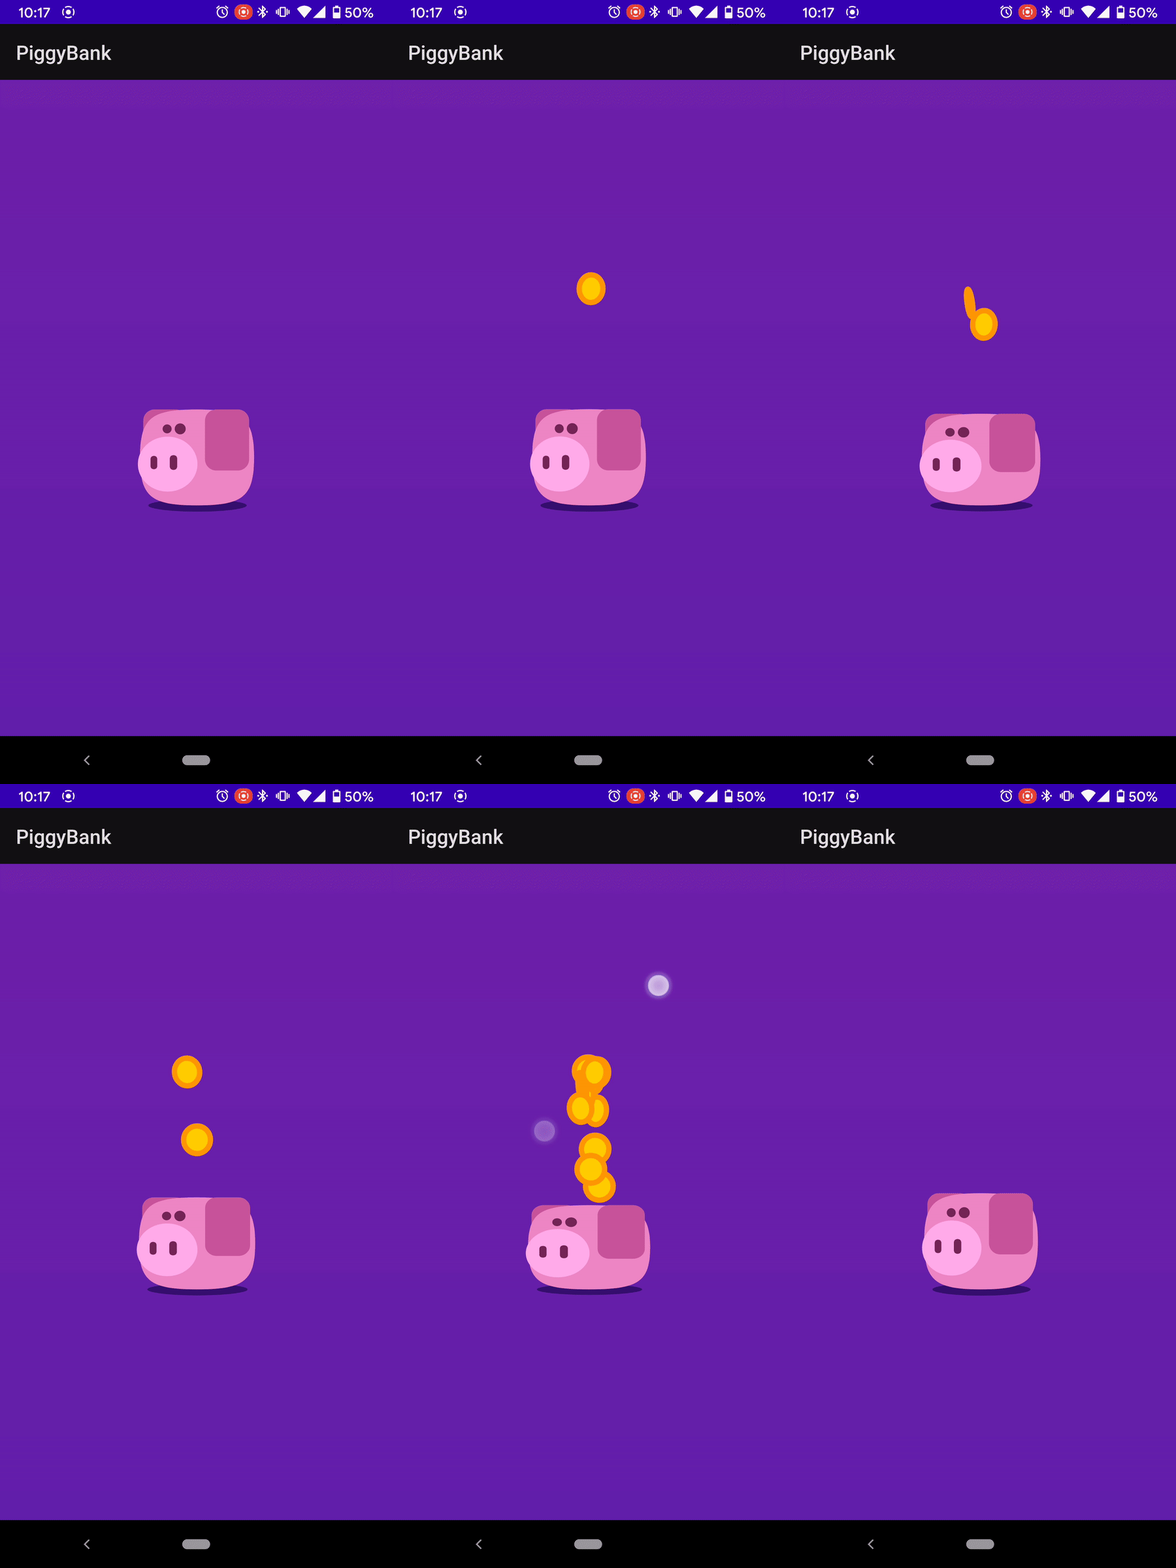
This is a sample Rive app for Android.
The RiveAnimationView view is great for simple use cases, but in this example we want to shows how to use the core parts of the animation library to make a custom animation loop with far more control!
The Piggy.riv file is split into 3 artboards
- Background
- Piggy
- has a state machine "PiggyMachine" with a "Pressed" trigger input. The trigger input switches the pig from running the "idle" animation to running the "coin" animation.
- Coin
- has a state machine "CoinMachine" which runs an animation of a coin flying up and back down again.
This animation is setup so that you can draw the background first and layer the Piggy animation ontop of it. When you want to animate a coin, we add a new coin artboard onto our canvas and animate its coinmachine animation. This artboard will be removed once the animation is played. We also run the "Pressed" input for the PiggyMachine, to make the pig interact with the press events a little bit.
Most of the code, and the animation loop live in PiggyDrawable, its wrapped up in a button class that we use to capture the touch events.
Luigi's original example of this for the web. There are great comments in the code here to understand how this works for javascript.
