-
Notifications
You must be signed in to change notification settings - Fork 11
Running Fixinator on Azure DevOps Pipelines or TFS
Instructions for running Fixinator automatically every time you commit code to an Azure DevOps Git repository or Microsoft Team Foundation Server (TFS). Azure DevOps also allows you to connect to any Git or Subversion repositories, and supports native integration for GitHub, BitBucket, Azure DevOps Repositories.
Add a file in the root of your repository called azure-pipeline.yml
pool:
  vmImage: 'ubuntu-16.04'

steps:
- script: |
    echo Starting the build
    curl --location -o /tmp/box.zip https://www.ortussolutions.com/parent/download/commandbox/type/bin
    unzip /tmp/box.zip -d /tmp/
    chmod a+x /tmp/box
    /tmp/box install fixinator
    mkdir /tmp/results/
    /tmp/box fixinator path=. confidence=high resultFormat=junit resultFile=fixinator-results.xml failOnIssues=false
  displayName: 'Fixinator Scan'
  env:
      FIXINATOR_API_KEY: $(FIXINATOR_API_KEY)
- task: PublishTestResults@2
  inputs:
    testResultsFormat: 'JUnit'
    testResultsFiles: '**/fixinator-*.xml'
    testRunTitle: Fixinator Security Scan
    failTaskOnFailedTests: true
  displayName: 'Fixinator Scan Results'
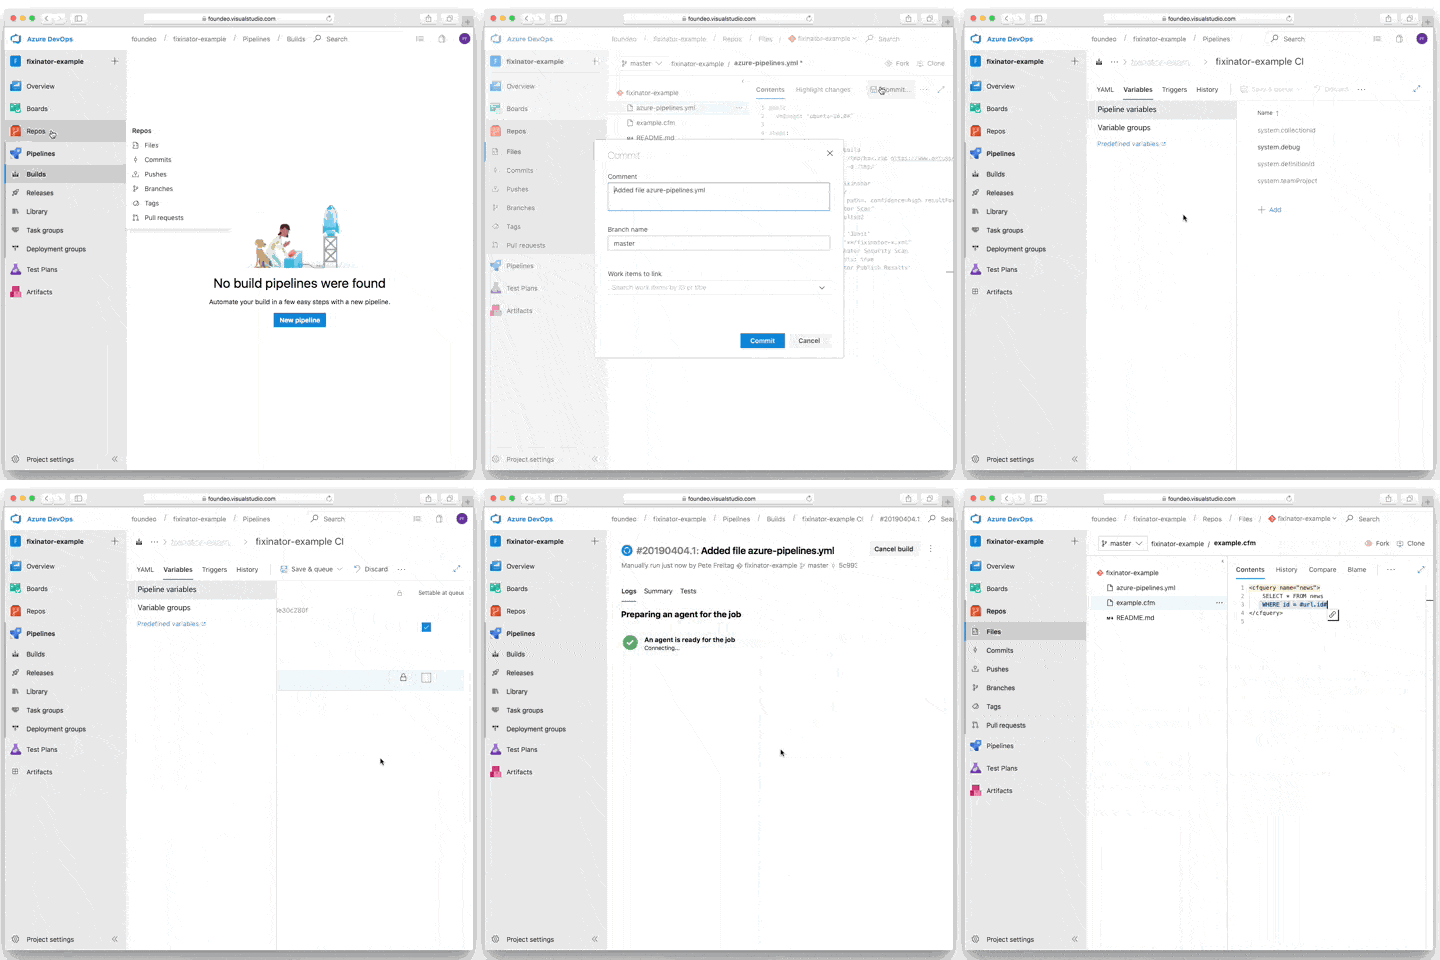
After you commit this file, a Pipeline should be created for you.
Click on Pipelines from the navigation menu in Azure DevOps / TFS, then click the Edit button. Click the hamburger menu next to the Run button and select Variables
Click Add and add a variable called FIXINATOR_API_KEY then specify the value. Click the Lock icon to make it a secure variable.
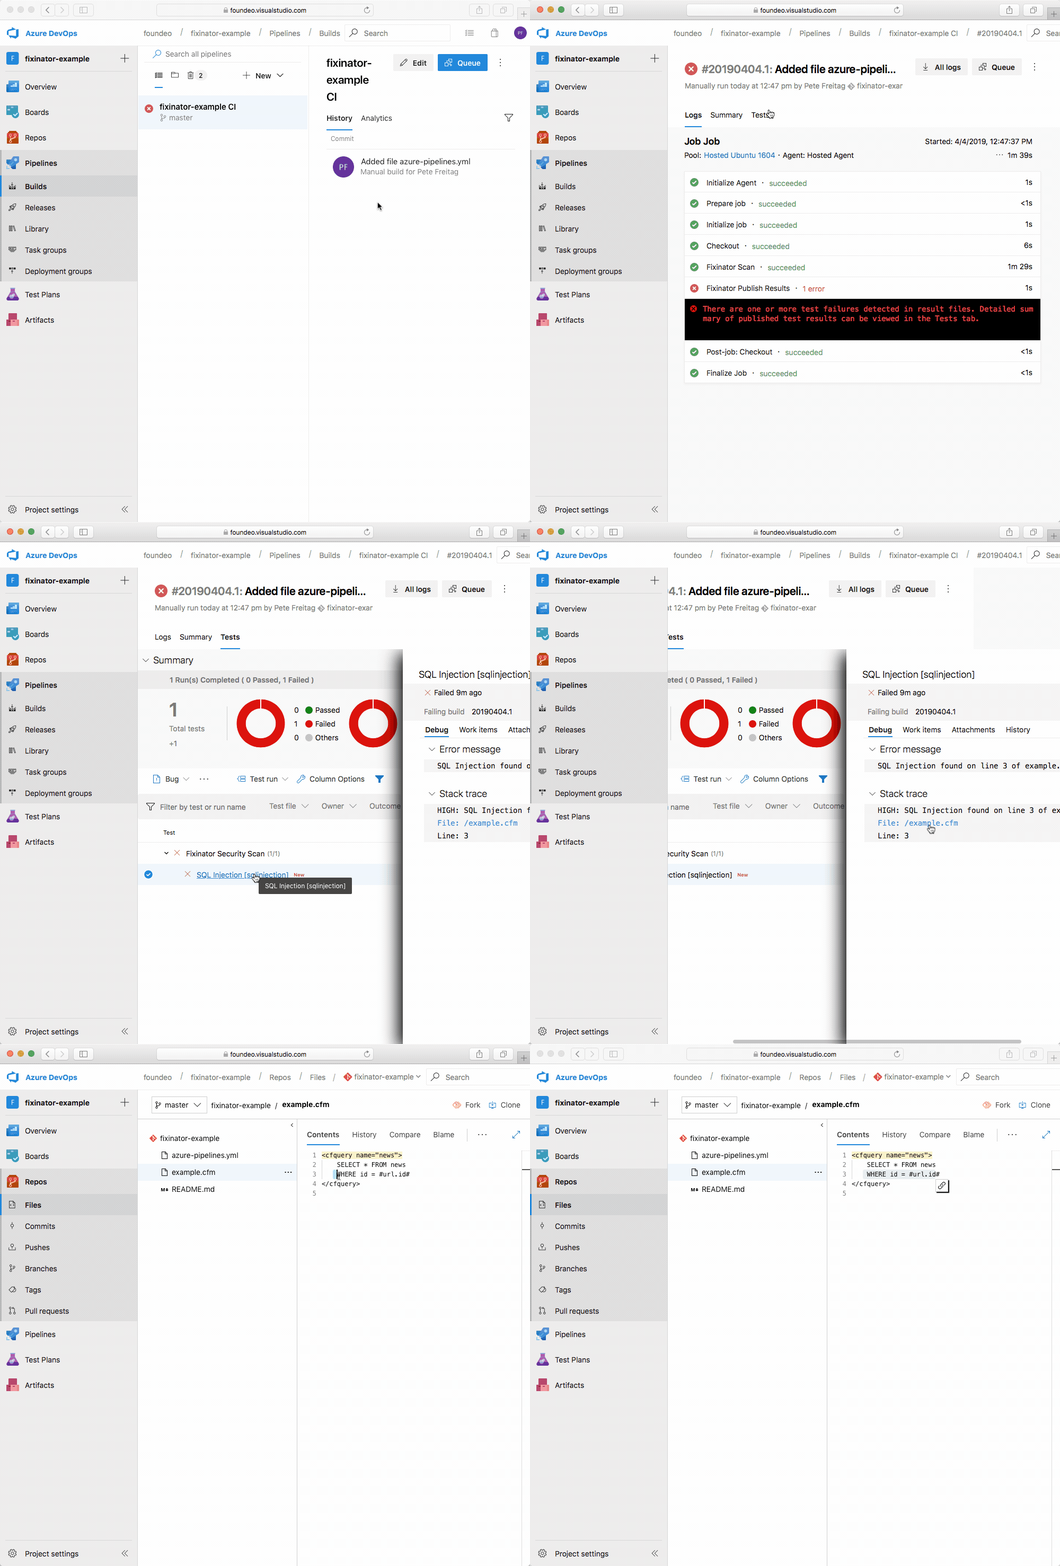
Select Save and Queue and your built will start running.

